
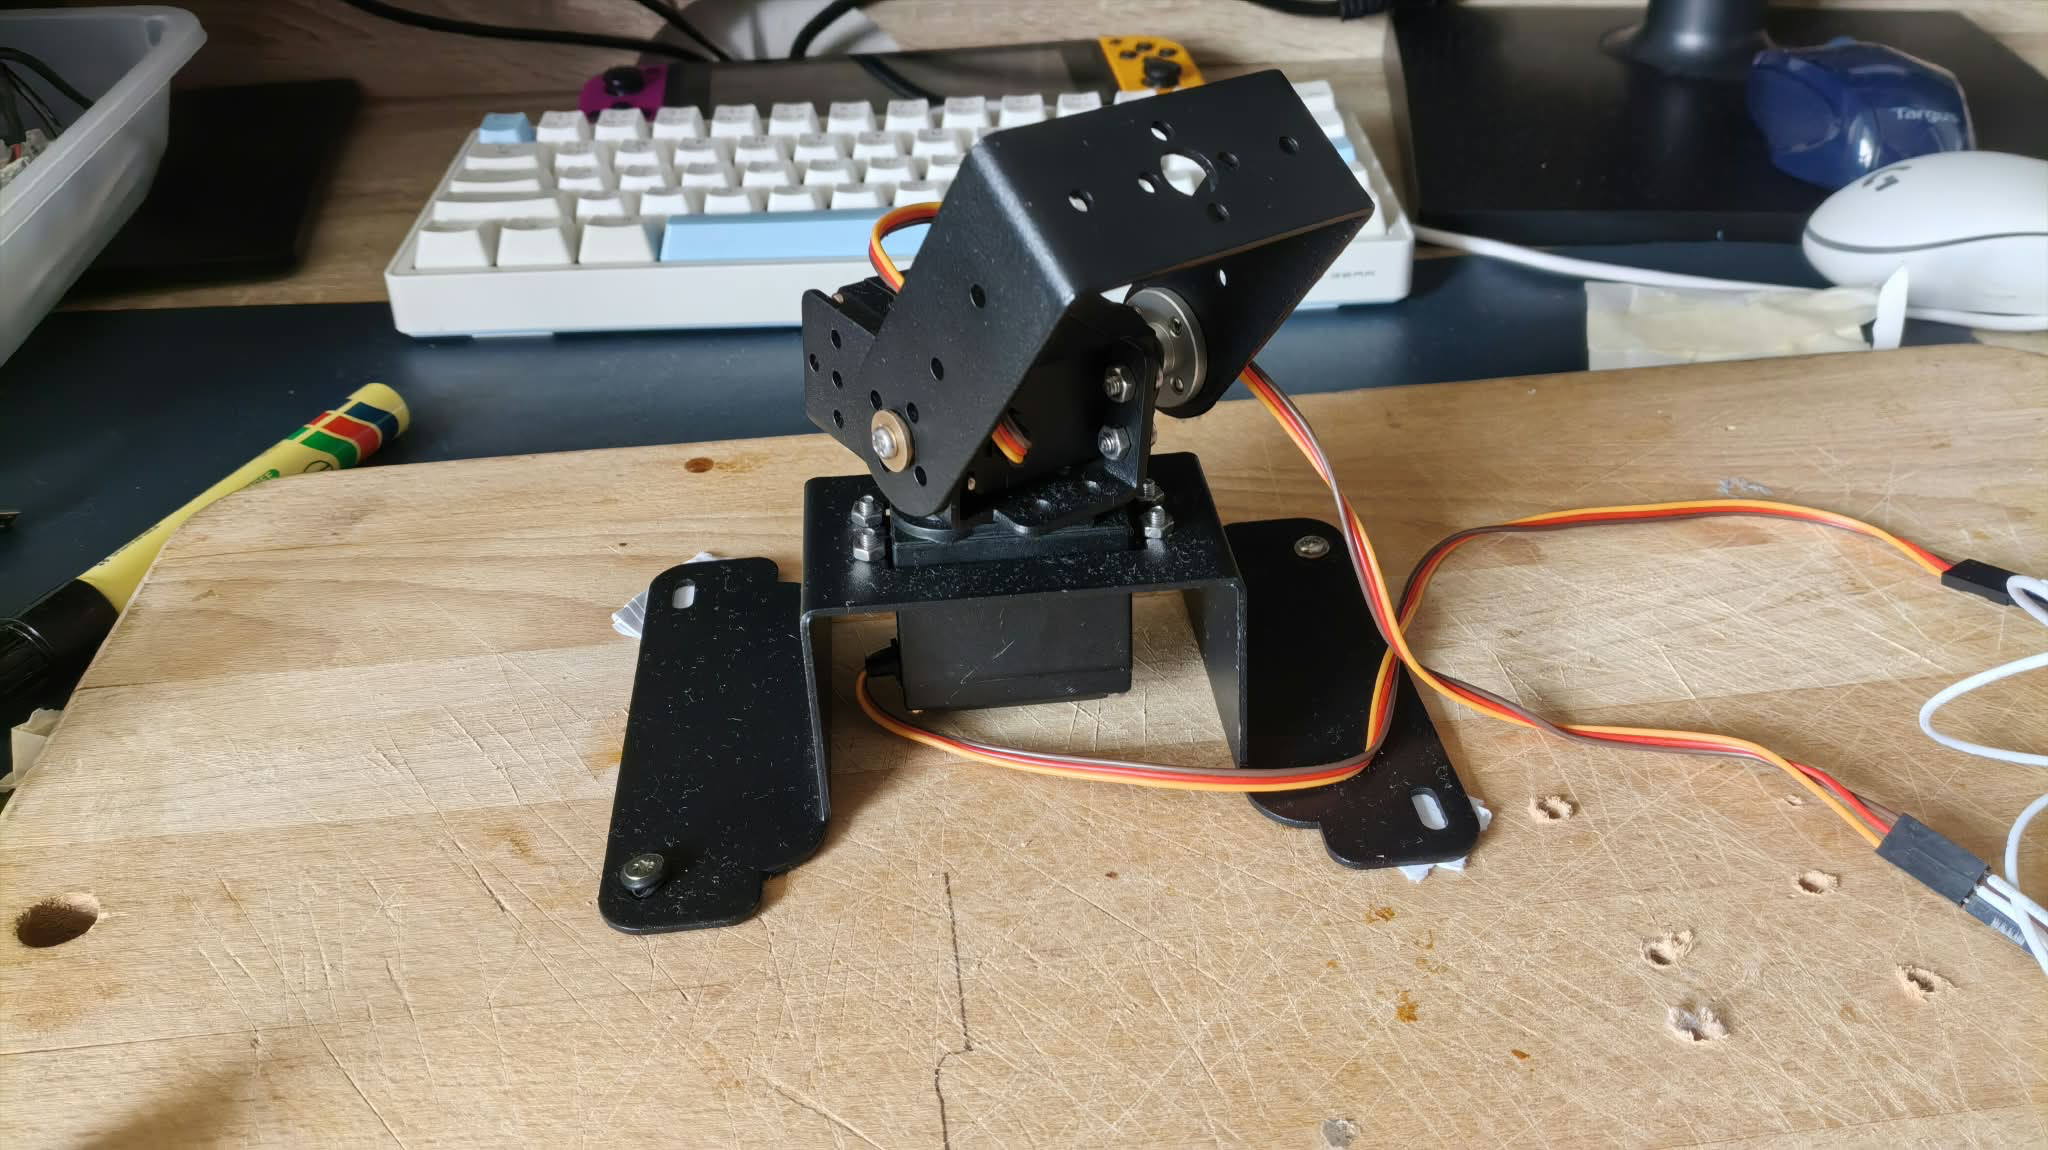
Since my last post, I’ve made a lot of progress on my robot project. After the disaster that was my previous attempt to move the with a servo, I decided to get a gimbal – frame which was designed to interface with MG996R servos.
Wiring the New Gimbal Body
These servos had much more torque and range of motion compared to the servos I’ve previously been using, but this came at the cost of needing more current. Their stall current is reported to be 2.5 amps, and 5v. And I needed two of them, which meant a peak usage of 25W.
Obviously a small 9V / AA battery pack would no longer suffice, but I didn’t want the cost (and bulk) of a proper bench-top power supply. So instead, I opted to use one of these USBC PD boards, which use USBC’s Power Delivery protocol (normally used in fast charging phones and laptops), to provide a stable output at a specific wattage and voltage. I didn’t want to risk frying my Apple fast charger, so I bought a new 30W USBC brick.
While 25W doesn’t sound like a lot, a short circuit (of ~0.1 ohms) could mean drawing considerably more current, roughly 50 Amps, or 250W of power. Obviously the power brick, strip and PD board would (hopefully) have their own fuses in place for this eventuality, and if they didn’t the wires I’d be using would have already become fuses, but just in case, I installed my own 3A fast blow fuses, one for each servo.
Even with just a 2.5A peak current, the jump wires I was using also had to go. I bought some multi-core 22 Gauge wire, which I used to connect the servo’s power pins to the PD board through some fuses, and create a common ground between the Pi Pico and the PD. I just used jumper wires to connect the Pico’s PWM pins to the control pins on the servos.
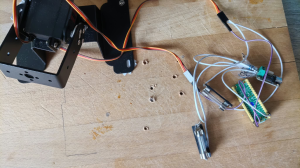
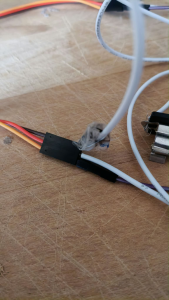
Then I set up a basic test script, to use the Pico’s terminals to input angles for the two servos to be set at independently. After that, I had the Pico host a webserver to receive the new angles over WiFi, which ended up being quite unstable on my home network, and a little more consistent using my hotspot. During one of my tests, I accidentally created a short circuit between one of the servo’s +/- wires, burning a fuse. Thankfully, the fuses make a high pitched whining sound and burning smell, so I was able to disconnect power quickly. After replacing the fuse, I started using small pieces of plastic tape to insulate.
I’d been thinking about ways to smooth the motion of the robot, without burning up a lot of processing power. As you can see in mu lasy article I’d already used EMA smoothing on the face of my robot so I thought to start with that. At this point I was on holiday, so I had to use the Wokwi Pi Pico / servo emulator to test my logic. I wrote the code to have the EMA servo updating happen in the background, using uasyncio.
I used some of my old WiFi control functionality to have the phone control the gimbal body move in real time to my face movements. This only worked with the phone separate from the body (because the logic assumed the phone was static). After experimenting a little with logic that would allow the gimbal tracking to work with the phone mounted on it, I realised that the motion blur made the tracking very inconsistent.
Calibrating the Tracking with AprilTags
So I pivoted to using a separate, static, webcam to control the gimbal. Since I was already planning on using my MacBook as a server to locally host the LLMs which the bot will use for conversations, I connected the webcam to it, and used opencv and pupil-apriltags to scan for AprilTags. I had Gemini write some small snippets that would display a grid on top of the camera’s output, and cycle through each cell, having me move an AprilTag to that cell, before letting me use a bluetooth keyboard to adjust the servo angles until the robot faced the tag. I also switched to having the MacBook talk to the Pico over serial instead of WiFi which was more consistent, and ditched the EMA smoothing for now because it was adding input delays.
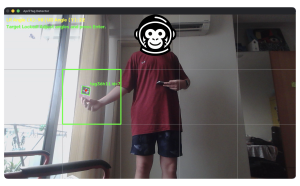
This way, I ended up with a table of rough 2D “camera space” positions, and angles for each servo. That data looked like this:
| Col 0 | Col 1 | Col 2 | Col 3 | Col 4 | |
|---|---|---|---|---|---|
| Row 0 (Top) | (119, 3) | (134, 3) | (144, 3) | (161, 3) | (173, 3) |
| Row 1 (Middle) | (115, 9) | (133, 9) | (149, 9) | (160, 9) | (169, 9) |
| Row 2 (Bottom) | (99, 25) | (127, 25) | (142, 32) | (173, 32) | (180, 32) |
Angles given as (Horizontal, Vertical)
As you can see, there wasn’t much difference between the x positions used for one column, or y positions in one row. So I cleaned up the data so that they would be consistent throughout a row or column. I then wrote some logic that would detect what grid an april tag was in, and set the servos to their corresponding angles from the calibration data.
The tracking itself seemed to work well, but was locked to only updating by grid cells (5×3, 15 total positions), and couldn’t move smoothly between them. Instead of interpolating between the calibration points, I decided to use Logger Pro to graph the column coordinates against the relevant left-right angles, and the row coordinates against the up-down angles.
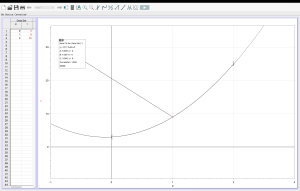
This way I could generate lines of best fit (LOBFs) for the horizontal and vertical angles. Both of these ended up being quadratic, and having pretty high r^2 values, the horizontal having 0.987 and vertical being a perfect 1.0.
This way, I made a new script that would take camera-space coordinates of a detected april tag, convert them into grid coordinates, plug those into the two LOBFs and output the new angles via serial to the Pi Pico. As I didn’t yet have a proper mount for the phone to attach the the gimbal, I used stuck a drawing of a smily face on a post it note to the “face” of the gimbal instead. Combined with the jerky movements of the gimbal, this had the unfortunate effect of making the robot really creepy.
Face Tracking
Having the bot track an april tag is pretty cool, but I don’t want it to look at an april tag on someones chest, I want it to look at their face. What I wanted to do was have the robot look at people’s faces, but differentiate between each person by which april tag they were wearing. This way, the robot could “focus” on one person’s april tag ID, and look at whicever face was closest to it. So I started work on integrating face detection into my tracking script.
Due to the fact that a previous mediapipe update had completely changed the structure of imports, and how you use their models, much of the code examples I could find no longer worked. I read google’s documentation, but I kept getting enigmatic errors. So I talked to Gemini to generate some example snippets, but those failed too. It turns out that the latest versions of mediapipe had a bug on Apple Silicon, which could be fixed by just downgrading the mediapipe version, which I did.
Once I got the face detection working, I noticed a pretty big problem with my implementation; it struggled to detect faces that were far away. This is due to the fact that mediapipe’s models get passed a very compressed, 128×128 image of the input data, which makes small face harder to detect. Seeing as I only cared about the face closest to the tag, I got gemini to write a snippet of ROI (region of interest) cropping, where the face model is only passed a small area of a total image, where the face is most likely to be. I implemented this in my code to draw a rectangle around the position of the detected AprilTag. This made a huge improvement to detecting far-away faces.
The motion blur from my face and the AprilTag moving around made detection pretty inconsistent, so I also implemented two other things:
- If the AprilTag “disappears”, continue looking for a face in the old ROI cropping area for up to a second
- Track the momentum of the focused face, if it disappears, use it’s momentum to guess where it would be for up to a second until it reappears
This made the tracking MUCH more consistent:
If you’re interested, all the code for this project, such as the macbook code and Pico code, are fully open source on this github repo. If you haven’t already, you can also read my past articles on Making My Robot More Expressive, Giving My Robot a Body with 3D Printing, Making My Robot Move With a Pi Pico W and How to Build a Smartphone Face with Eyes That Follow You. As always, stay tuned for my next post, where I’ll be mounting the phone to the gimbal!
 SpaceMonkey Alfa