
So far in the series, I’ve built the face of my robot with eyes can track and follow faces, given it the ability to control a servo in real time, and experimented with 3D printed parts to attach the servo to the phone displaying the robot’s face. While I continue to work on a servo – powered “neck” for the robot for my next post (stay tuned), I’ve also worked on making the robot more expressive.
The original design of the face used stacked layers; a back blue layer, a white midground behind the pupils, a blue “mask” layer, and a mouth on top.

Adding Eyelids
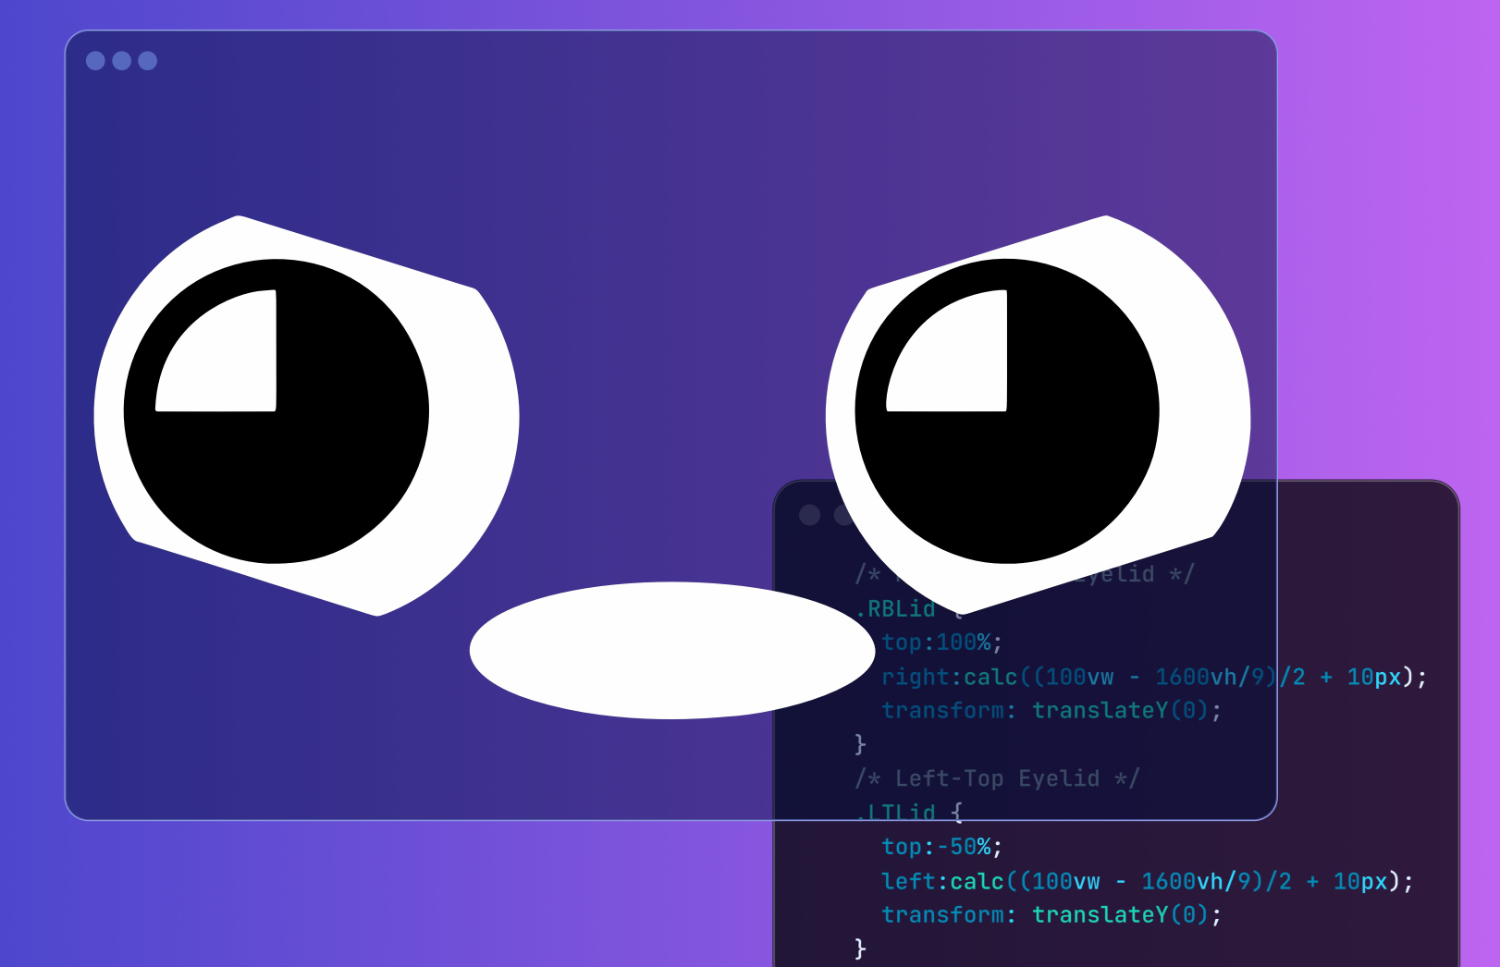
To make the face more expressive, I’ve added a new eyelid layer that sits between the mask and pupil layers. Each of the 4 eyelids can be changed to different shapes, which allows for even more expressions. To start off with, I’m using a basic straight pupil design, and an angled “angry” variation.
Like the pupil layer, I use css transitions to animate and smooth the eyelid movement, just with a much longer easing time (100ms).
    .eyelid-layer{
      z-index: 2;
      height: 50vh;
      width: auto;
      max-width: 100vw;
      position: fixed;
      transition: transform 100ms ease;
      transform: translate(-50%, -50%);
    }
The default state of the pupils is to have them fully open, hidden from view behind the mask layer. I calculate the left or right offset to place them inside the mask (which is 16:9 and adapts to the size of the display), with an additional 10px because I accidentally offset the eyelid svg’s when making them (oops).
    /* Right-Bottom Eyelid */
    .RBLid {
      top:100%;
      right:calc((100vw - 1600vh/9)/2 + 10px);
      transform: translateY(0);
    }
    /* Left-Top Eyelid */
    .LTLid {
      top:-50%;
      left:calc((100vw - 1600vh/9)/2 + 10px);
      transform: translateY(0);
    }
Additional tired and closed classes are used to adjust the vertical position of the eyelids using translationY(). Originally, the closed class was above the tired class, and since they had the same specificity, the eyelids would always stay half open when both classes were applied at the same time. To fix this, I just placed the closed class styling after the tired styling so that the former would overrule the latter.
     /* Bottom eyelids, tired state, moved partially up */
    .LBLid.tired,
    .RBLid.tired {
      transform: translateY(-70%);
    }
     /* Top eyelids, closed state, moved fully down */
    .RTLid.closed,
    .LTLid.closed {
      transform: translateY(100%)

    }
Adding Blinking
Using the new eyelid layer, I’ve added a new js function that runs in the background of the main face tracking logic to add blinking, by toggling the closed state on and off. It uses randomised times for the delay between blinks (2 – 27 seconds), how long the eyes stay closed (between 250 – 550ms), and even a small chance every blink (<5%) for the eyelids to flutter (blink 2 or 3 times back to back).
    function blink_loop() {
        let openTime = Math.random() * 25000 + 2000;
        let blinkTime = Math.random() * 300 + 250;
        let flutter = 1;

        if (Math.random() > 0.95) {
          flutter += Math.round(Math.random() * 2);
        }
        console.log(flutter);
        function blink(flutter) {
            // Close the eyelids
            console.log("Closing...");
            eyelids.forEach(lid => lid.classList.add('closed'));
            setTimeout(() => {
                // Open the eyelids
                console.log("Opening...");
                eyelids.forEach(lid => lid.classList.remove('closed'));
            }, blinkTime);

            if (flutter > 1) {
              setTimeout(() => {blink(flutter-1);}, blinkTime + 100);
            } else {
              setTimeout(blink_loop, openTime);
            }
        }
        blink(flutter);
    }
    blink_loop();
I also noticed that the pupils would often shift slightly even when I wasn’t moving. To fix this, I read up on EMA (Exponential Moving Average) smoothing, which I also plan to use in the physical movements of the robot, on Wikipedia before writing my own implementation.
    /* EMA Smoothing */
    shiftX = 0.2 * ((percentX - 50) / 5 + 50) + 0.8 * shiftX;
    shiftY = 0.2 * (-(percentY - 50) / 2 + 50) + 0.8 * shiftY;
Mouth Changes
The mouth layer can also be swapped out and animated to show different expressions. For now, I’ve added one new variation, where the mouth is a sine wave, which moves across a window to mimic talking. Once I start adding interactability to the robot (stay tuned for that), I’ll be integrating and expanding these new tools and expressions to personify the robot more. In the meantime, here’s a video of some of the expressions the bot can now do:
In my next article, I’ll be connecting the face of the robot to a neck, which it’ll control in real time. Stay tuned, and give some of my previous articles a read if you haven’t already!
The Series So Far
- How to Build a Smartphone Face with Eyes That Follow You
- Making My Robot Move With a Pi Pico W
- Giving My Robot a Body with 3D Printing
- Making My Robot More Expressive