
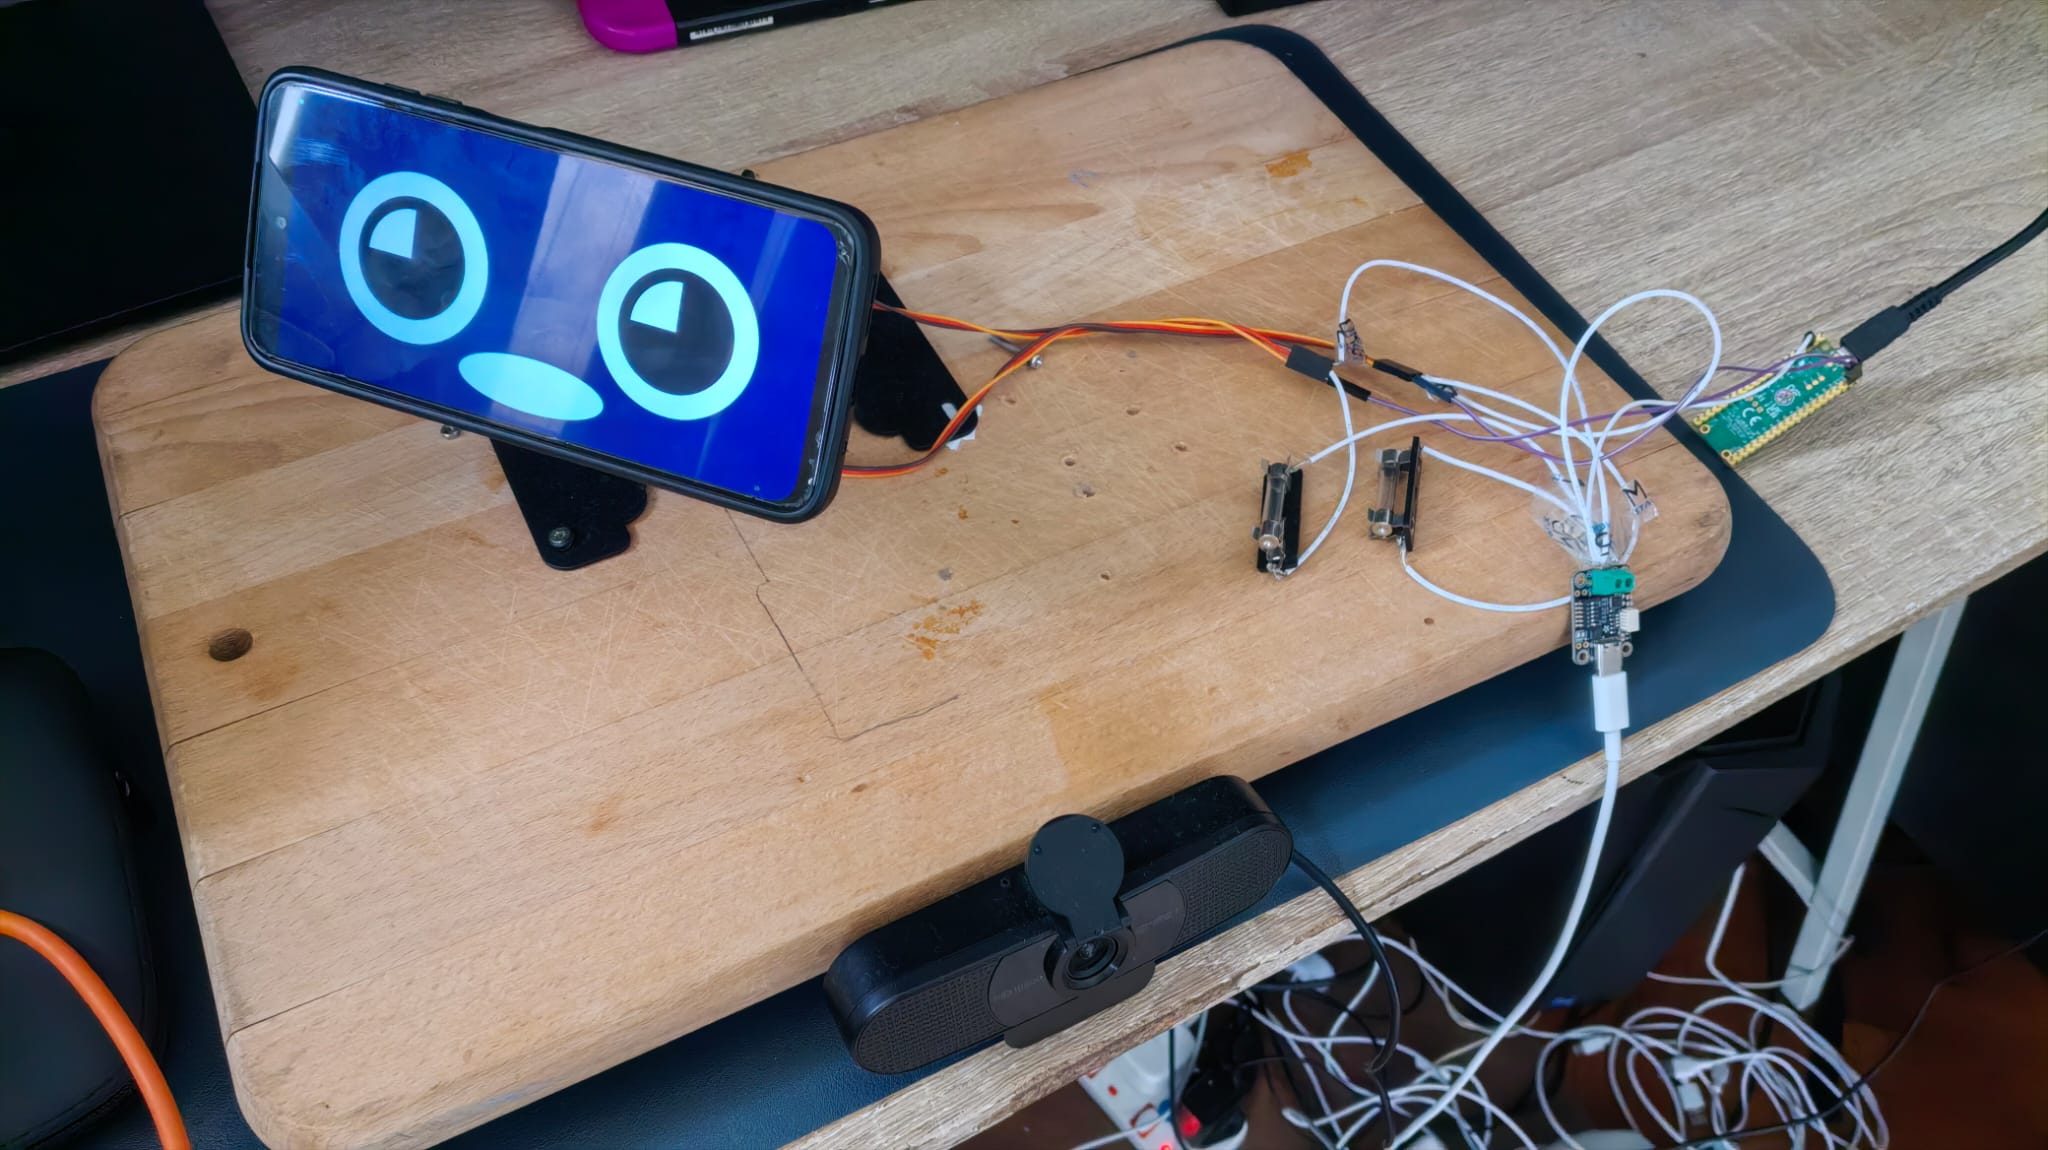
In my last article, I made my robot follow a face and use AprilTags to differentiate people. Now, I’ve made quite a lot of upgrades; bringing together the digital face from my previous articles and the robot body, as well as hooking it up to an LLM so it can speak. This article’s pretty long, so if you want to jump to a specific section, here are some anchor links:
2) Hooking up a Large Language Model
3) Picking a Text To Speech Engine
Connecting the Face
My phone acts as the screen and processor behind the digital face. If you’re curious, you can read this article about how I made it. To get the phone onto the front of the robot’s head, I started by trying to use a magsafe ring on the robot, and a magnet on my phone (it’s a cheap android, so no builtin magsafe). I originally planned to use the ring from this magsafe stand on the phone, before I realised the ring itself was not magnetised, only the stand was, and the ring was used to conduct (?) the magnetism.
So instead I pivoted to building a 3D print that would mount onto the front of the robot, and be superglued onto a phone case. Armed with a low – res diagram of the front of the robot I got off an aliexpress listing, I got to work on modeling the “head” of the robot, so I would have a reference for my mounting part.
I made a plate with holes the same size as the holes in the robot (matching their positions), and insets for the heads of M3 bolts to sit in. The technical diagram didn’t specify the diameter of the holes but using the other measurements as reference, I was able to guess they were 3mm.
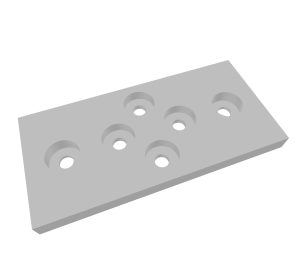
If you want to design your own mounts for a DOF robot, many of them on aliexpress use the same mounting holes. I’ve put the STL of my mounting plate, and the DXF drawing I made of the mounting holes on my github.
Surprisingly, it fit the robot on the first try!
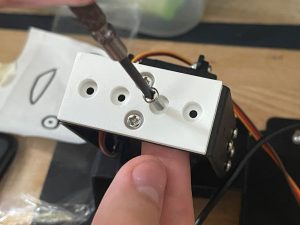
From here, I removed the mount from the robot, keeping the bolts pushed in through the holes in my plate. To prevent glue leaking through, I used some Blutack to fill the gaps left over the heads of the bolts. Then I drew some guidelines on the mount and my phone case, before sticking them together with superglue.
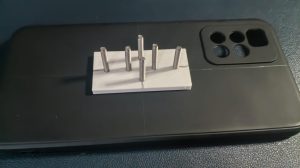
By pushing the bolts sticking out of the combined plate and phone case through the holes on the robot mount, and tightening nuts inside the robot chassis, the phone case can attach to the robot.
As I had re-tightened some of the connections inside the robot, so the tracking needed to be re-calibrated. Then I could finally see what my robot looked like with eyes tracking me as well as with its body.
The servos seemed to handle the phone’s weight fine, though when they’re disconnected from power, the phone’s weight drags the head to face downwards. The problem with the phone’s weight is that if the servos accelerate too much (on long rotations), the momentum makes the servos overshoot. The servos then self-correct (overshooting less), and this goes on until eventually the movements are so small there’s basically no acceleration / overshoot. Based on how it looked, and the sounds it made, I’m guessing this sort of judder was not good for the servos. So I re-enabled EMA smoothing on the pico, but rounding errors from the decimal multiplication led to compounding errors which would eventually make the servos move erratically. The only solution I could see was to re-write the EMA code as binary operations, which I worked out on paper first.
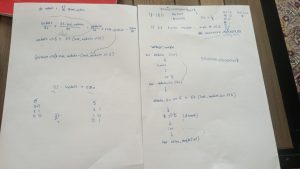
For example, the script would now use:
self.smooth_factor = 5

….

update_snapshot = self.update << (8 - self.smooth_factor)

self.last_write = (update_snapshot + (self.last_write) - (self.last_write >> self.smooth_factor))

self.write(int(self.last_write)>>8)
Instead of the equivalent decimal operation:
self.last_write = (248/256) * self.last_write + (8/256)*self.update
The bitshifts to the right also help the rounding errors by always rounding down in a predictable way. Altogether this makes for a very fast and consistent EMA implementation.
At some angles, the phone could sometimes hit the webcam, so I repositioned it, in front and under the breadboard.
Hooking up a Large Language Model (‘LLM’)
I wanted my robot’s conversational system to use speech to text (‘STT’) to listen to me, an LLM to use tools and write a response, before using text to speech (‘TTS’) to generate speech. My first idea was to use a bunch of interconnected models like this, with different branches depending on the complexity of the prompt. The goal was to make as much of it local as possible.
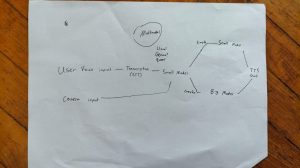
My options for local models that could run well on my MacBook with 16 gigs of unified memory were pretty limited. I decided to use the Gemma 4 family of models, thanks to them being multimodal and having both a 4b and 12b, the idea being to use the 4b model for “simple” tasks, and the 12b model for “complex” ones. I used 4 bit quantised versions of both, running on llama-cpp.
The 4b model wasn’t very smart, but smart enough to differentiate between complex and simple tasks. But loading a 4b model in and out of memory, before loading a 12b model into memory for every complex task added way more delay compared to just using the 12b model to start with. So I abandoned the “complex” and “simple” branch, and settled on just using the 12b model.
Before installing a transcription system, I wanted to test if Gemma could use its internal audio input system to skip the transcription step. It worked, albeit slowly, because the audio file had to be loaded into the model’s context. However, I noticed that on tasks requiring image input, the model would struggle—my guess was that the audio was filling up its context. So instead, I ended up using whisper-cpp to transcribe in less than a second before passing the text to Gemma. This worked a lot better, and suddenly the model was able to solve problems like “what’s five plus this number” while holding up a 3 to the camera.
My next step was to connect the model to Google Calendar. I didn’t feel like giving the model full access to my personal calendar, so instead I set up a service account in Google Cloud, created a new calendar called “PAL-Shared” on my personal account, and gave the service account editor permissions for it. From there it wasn’t very difficult to write a function that would take a title, description, start time and length as input to create a new event in my calendar. To save the model from having to do date and time maths for prompts like “add an event to my calendar in three weeks time”, I made the function take a human readable string in as input, and then use the dateparser library to convert it to a datetime stamp.
I used Gemini to write a python script called “registry.py” to create an @tool decorator that would automatically generate openai protocol compatible jsons. So just by using the decorator and adding a docstring comment, I could give the LLM access to any python function I wanted. In this case one to create events, read the next 10 events and delete events. To edit events, the bot could just look up all events (to get the event id), delete the old event and create a new one to replace it.
Picking a Text To Speech engine
I tried a bunch of TTS models. I started with Breeze-TTS, but it was hard to run locally on Apple silicon, and I couldn’t get the voice to sound consistent enough. Then I tried Qwen3-TTS but it had the same issues of being difficult to run, and was consistent when not using the preset voices. I’d chosen these TTS models, because they let me customize the sound of their voices by prompting them. I tried to find a way to make the voice sound cute without being creepy. Since I couldn’t get either to sound quite right, I decided I’d be okay with a more generic adult voice. So I settled on using the TTS built into macOS. The voices sound okay, it runs really fast, and it’s easy to use through the “say” command.
Then I made the MacBook automatically detect speech using silero VAD, and stop recording after three seconds of silence. Audio recording is done through the MacBook because its the simplest way to do it. To stop an infinite feedback loop of the bot hearing itself, the main loop of the program reads the length of the wav file which the TTS produces, and sleeps for that long before starting the VAD again.
Linking the Face
I wanted the bot’s response speech to play through the phone, and the bot to use photos taken from the phone as input. Due to browser constraints, non-localhost http pages can’t download models (which face-api.js requires), and aren’t given camera access. So on top of a main server running on the MacBook, I needed another smaller server to run on the phone through a termux instance.
The phone uses web sockets to receive real time updates from the MacBook, such as when to speak, when tools are being used and when to capture images. To acknowledge the user’s input had been received and was being processed, I got the robot to say things like “yep” and “hang on” as soon as the user stops speaking.
As a further visual cue to the user, when any tool use is detected, a little green book appears from the bottom of the screen to help show me the bot is doing something. In future, I plan to have different covers for each book / tool, so that the user knows what tool the bot is using from a glance. The bot’s eyes also stop tracking when the book is pulled up, so the pupils can move left and right to “scan” the pages of the book.
At this point I discovered a bug where after the book is put away, the talking animation for that response gets messed up; shifted horizontally and moving strangely. I couldn’t find any reason in the CSS that would cause this. Eventually I decided to try using a different browser (chrome instead of a locked down browser), but that didn’t fix the issue. I gave up and changed the talking animation to something simpler, just the regular mouth being stretched up and down.
Now the bot’s starting to feel alive!
To save myself from the hassle that calibration used to be (read my previous article on the old calibration system), the calibration script now automatically generates easily copy-pastable LOBF formulas to give the tracking scripts.
Conclusion
I’ve got a bunch of ideas on how I can build upon this system to make the robot even more useful and personified, but I’ll save those for future articles. In the meantime, feel free to read up on my previous articles and follow the desktop robot project repo on github.
 SpaceMonkey Alfa